Building the Sides
The sides were cut from aluminum channel on the miter saw. The channel is 1" wide with 1/2" legs, and is 1/8" thick. I started with three 24" pieces. Two are required - one is a spare. I picked up a $32 aluminum cutting blade for the miter saw and used it to first shave both ends of each piece square and then to cut the miters and length. I used a stop 7-9/16" from the blade measured at the fence. The first miter cut was made with the square end against the stop. That cut made a piece 8-1/16" long with a miter on one end. I flipped the piece end for end and the second cut put the miter on the other end. To do the next piece, I repeated the process with the other square end of the same 24" piece. In that way I got two sides out of each 24" piece. I used several clamps to hold the parts and the oak sacrificial fence to the miter saw's fence.
The side frame is 8-1/16" on the outside edge of the pieces, leaving the sides 1/32" larger all around than the front and rear panels. That keeps the edge of the panels from sticking out and catching on things.
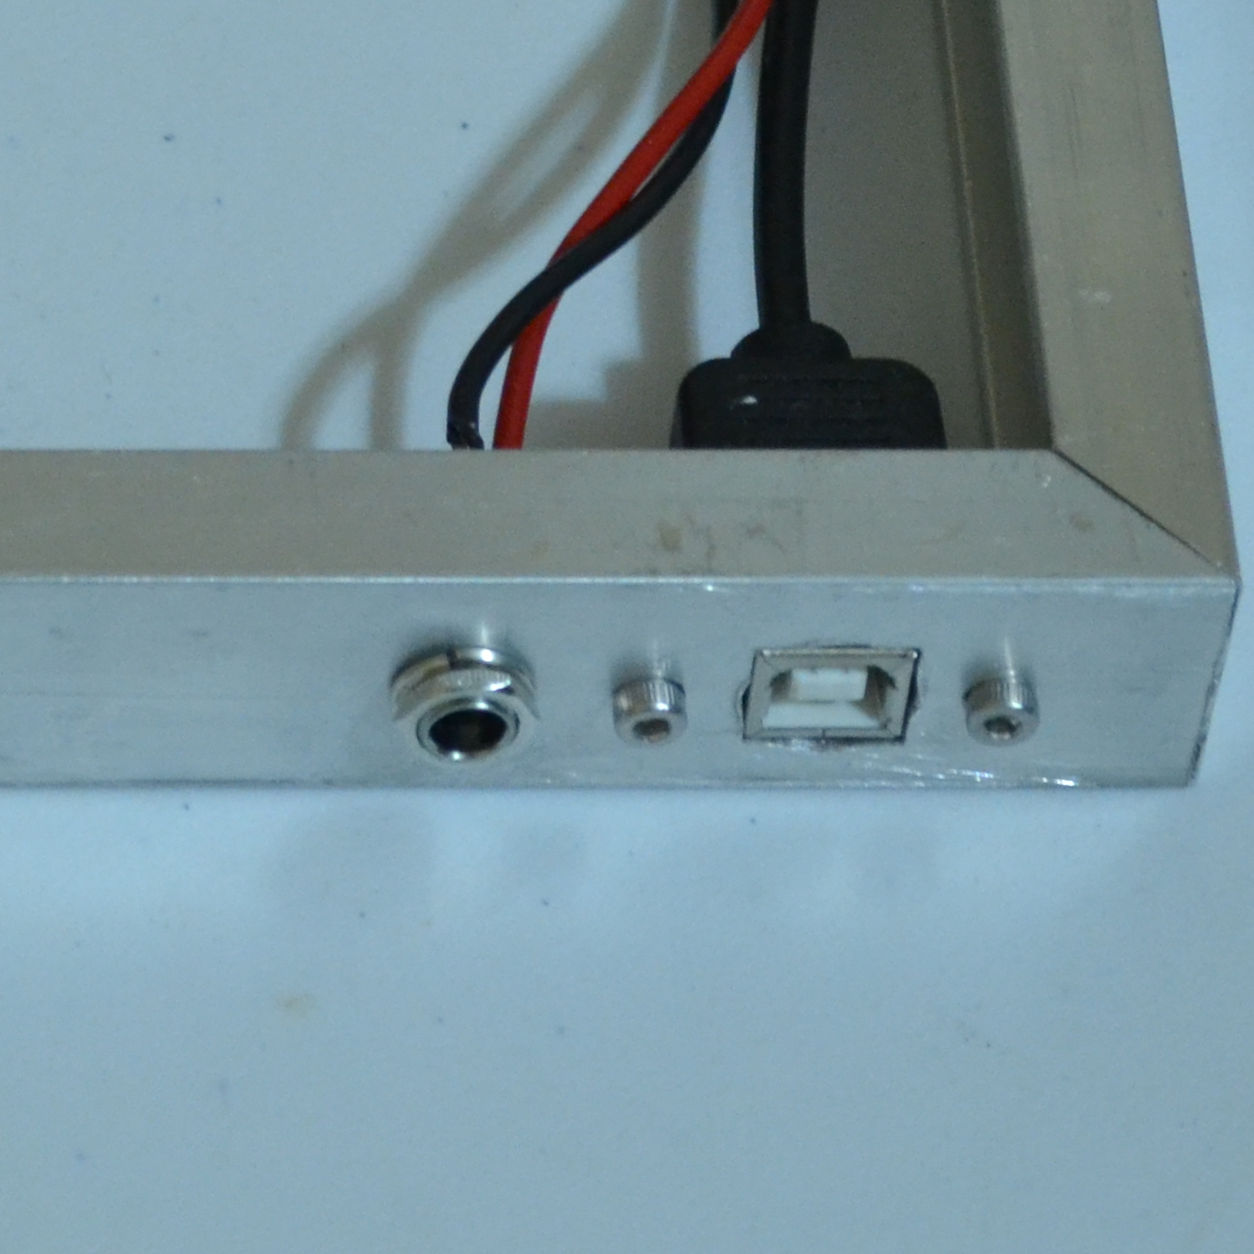
The power connector mounts in a round hole. The USB connector requires a square hole. It's not easy to hog a 1/2" sort of square hole in a 1/8" thick piece of aluminum using hand tools. I drilled 1/2" and squared it up the best I could using a diamond file.

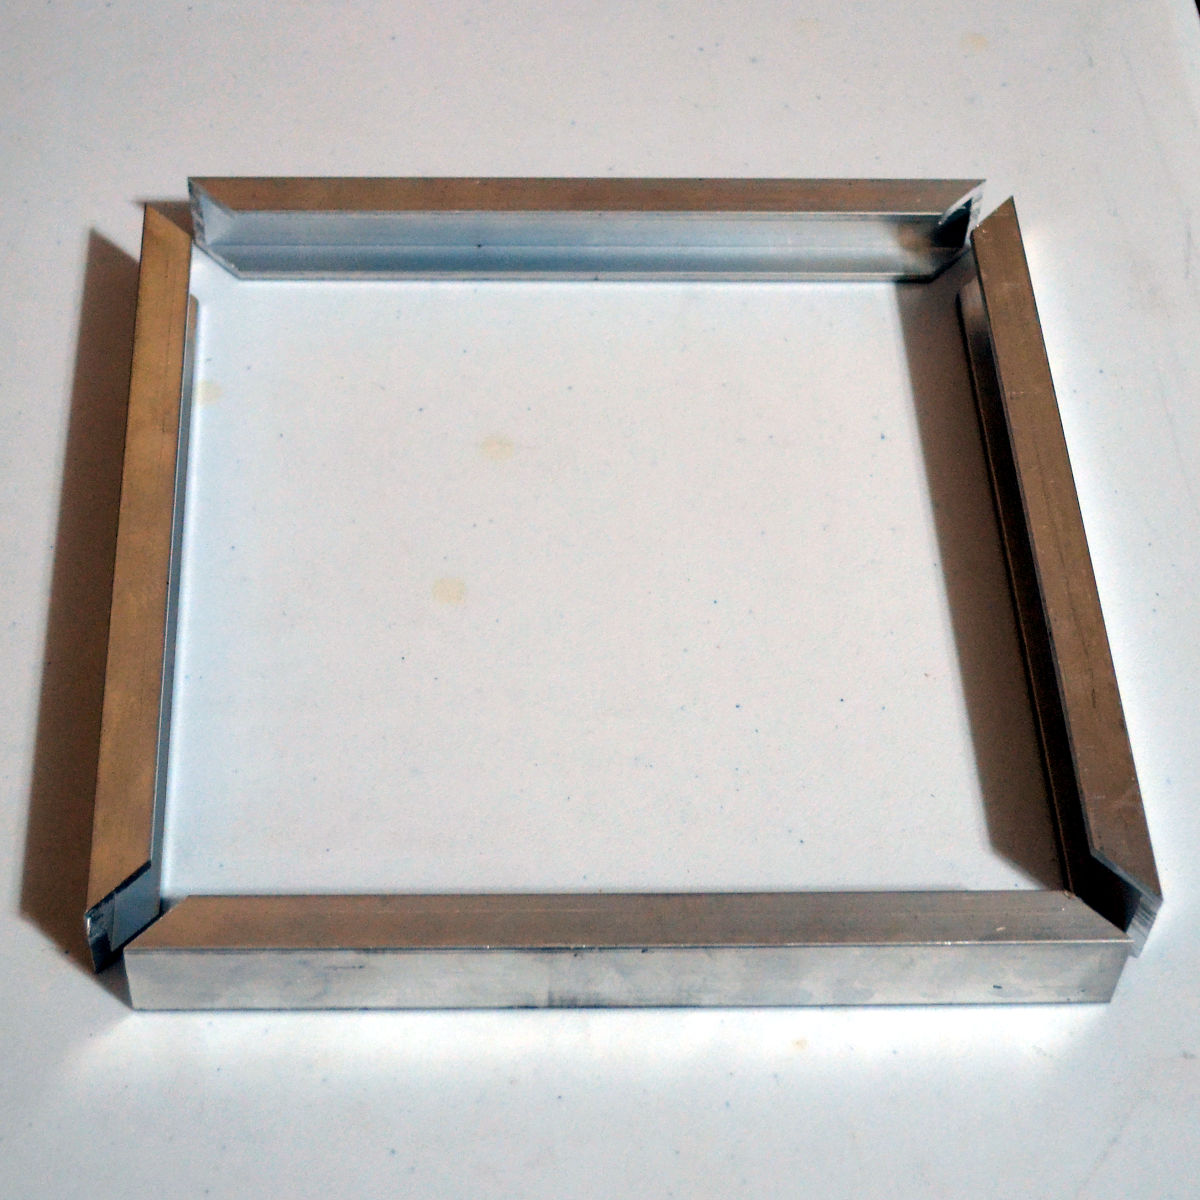
I roughed up the joints, then applied a liberal amount of epoxy to the miters, and pushed the sides into the fixture. Waxed paper keeps the epoxy from bonding with the fixture. The fixture was a very flat piece of plywood with two straight boards glued at 90° angles. I used the front panel as a square.
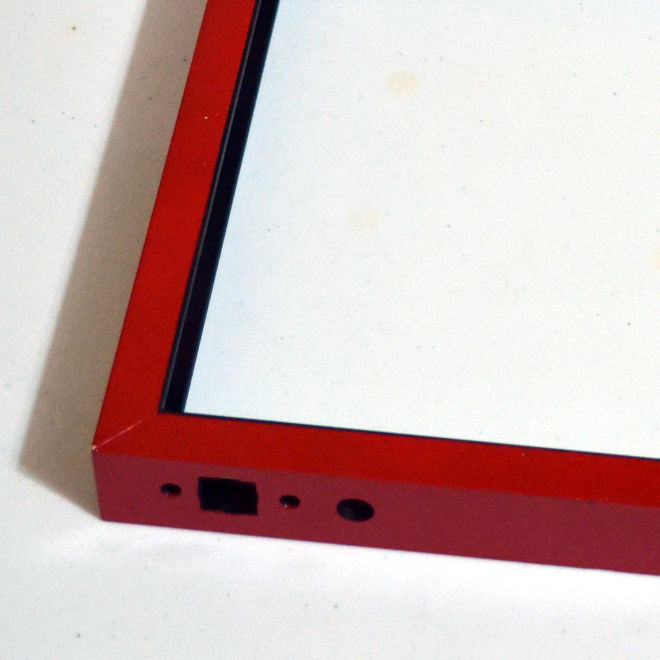
After a good cleaning and sanding, two coats of aluminum primer were followed by red on the outside and flat black on the inside. I didn't drill and tap the holes until after painting. I couldn't figure out a practical way to keep paint out of the threads.
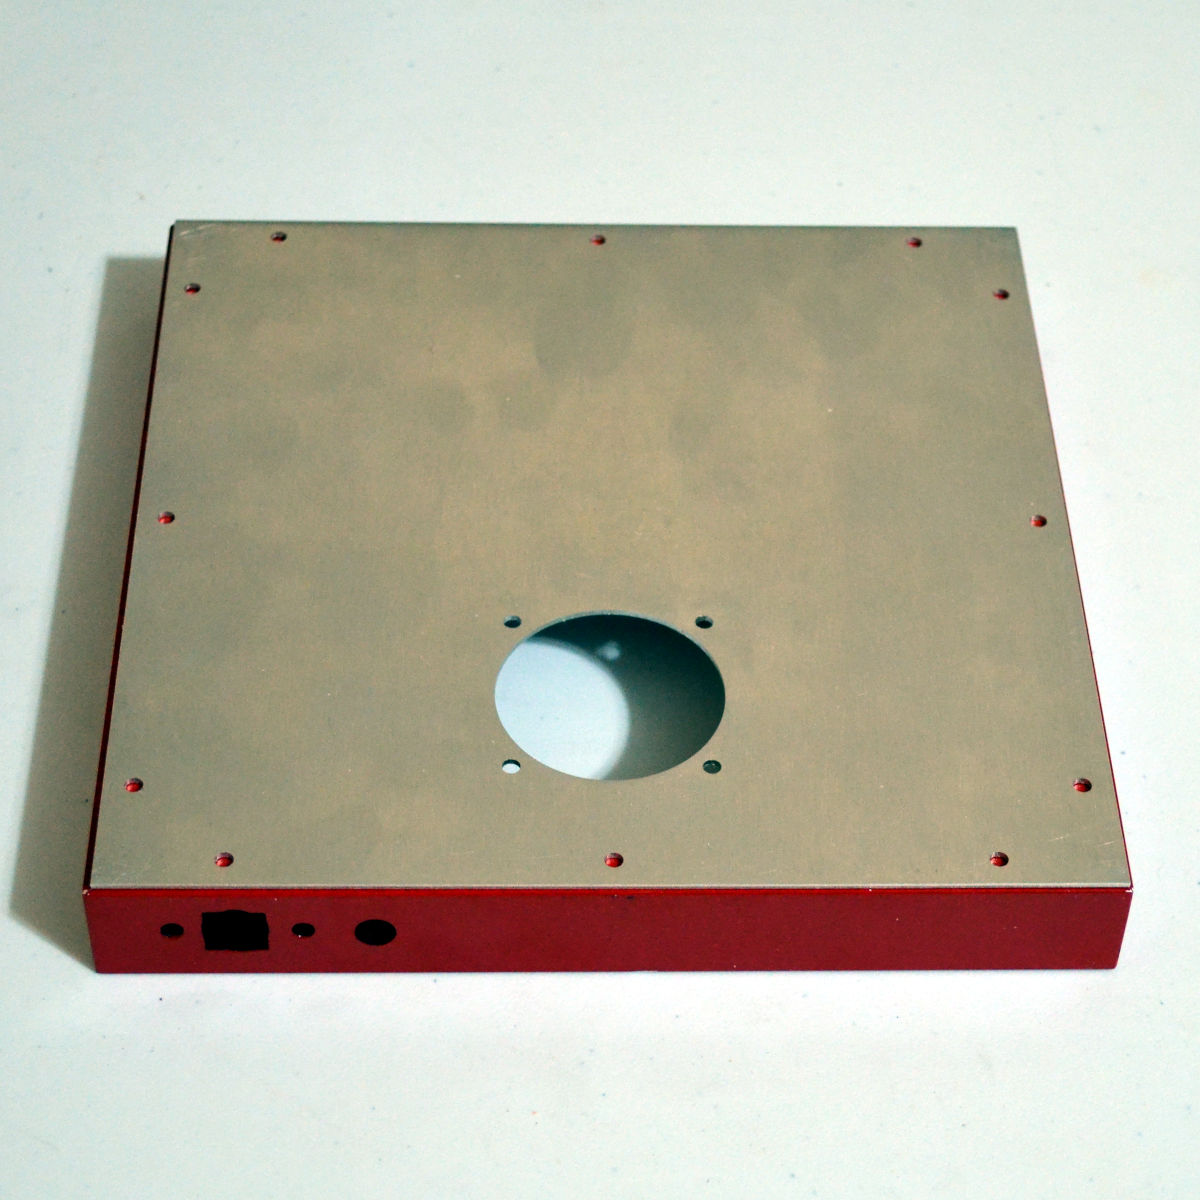
The front and rear panels were used as templates for marking the mounting holes on the sides. I used a Sharpie to mark the spot.