Raspberry Pi 4B Telescope Control using Astroberry
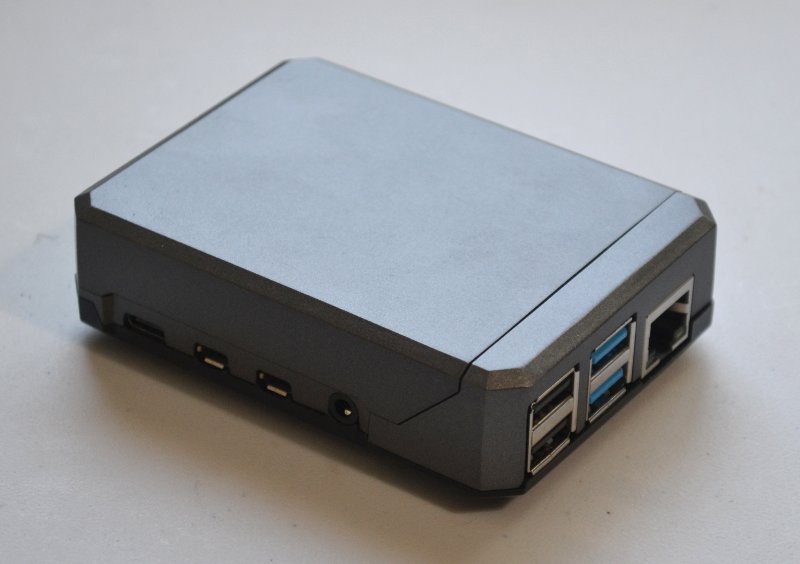
I hoped to use the Raspberry Pi 4B where the Raspberry Pi 3B seemed a little weak for the job. The 4B beats the 3B by 7% just from the clock speed. It helps that it has 8GB of RAM, too, but I wanted the disk I/O to be more responsive. To that end, a USB-3 to mSATA enclosure with a 240GB SSD that I had in my junk box was added to one of the USB-3 ports. The Raspberry Pi boots off of the USB-SSD.
The power supply for the Raspberry Pi, and in fact for the entire telescope rig may be found at the Power Box 5 page.
Click for an article on Raspberry Pi with StellarMate.
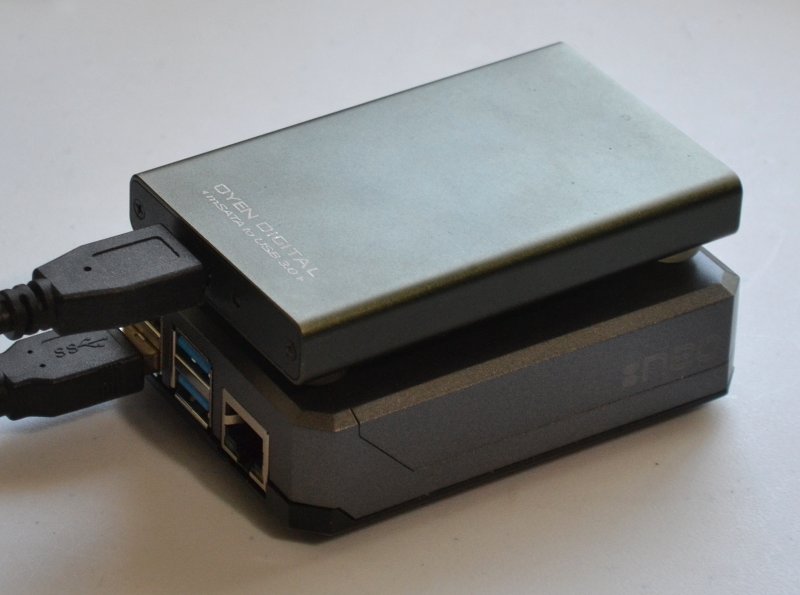
The external drive has the right chipset in it, according to this site. It does work with either USB-2 or USB-3, given a good cable. It's much, much faster than the MicroSD card. The SSD gives about a 7x improvement in performance over the Class 10 U1 MicroSD. To set it up to boot from the USB drive, I followed this article. At some point this will be obsolete, since the Raspberry Pi folks are adding USB boot back into the Pi 4B firmware.
To install kstars and indi (with all drivers) just do this:
wget -O - https://www.astroberry.io/repo/key | sudo apt-key add -
sudo su -c "echo 'deb https://www.astroberry.io/repo/ buster main' > /etc/apt/sources.list.d/astroberry.list"
sudo apt update
sudo apt install indi-full gsc kstars-bleeding
sudo apt upgrade
The next thing to do is to run KStars, click the Ekos button, and the Indi Control Panel. Set up the server with locally connected devices, select the devices for the telescope, camera, and focuser, and configure the communication. Test it by hitting the "Run" button followed by the "Connect" button. The devices should all connect and go ready. If they do, go ahead and end the Indi Control Panel, Ekos, and KStars.
I'm running the LX200 Autostar, SBIG CCD, QHYCFW2, GPSD, Pegasus FocusCube, Pegasus FlatMaster, ASI Focuser and ASI CCD. I made a file named 'indi' that runs the server command, so the Pi doesn't need to run KStars and Ekos to serve. The contents of the file:
indiserver \
indi_sbig_ccd \
indi_asi_ccd \
indi_asi_focuser \
indi_lx200autostar \
indi_qhycfw2_wheel \
indi_gpsd \
indi_pegasus_focuscube \
indi_pegasus_flatmaster
The file needs the have the execute bit set:
chmod +x indi
Now we're ready to run. In a terminal in VNC or an ssh session, I run indi:
./indi
It prints the startup log message:
2020-03-31T18:57:39: startup: indiserver indi_sbig_ccd indi_asi_ccd indi_asi_focuser indi_lx200autostar indi_qhycfw2_wheel indi_gpsd
And it's now a Raspberry Pi 4B Indi server. I only load KStars/Ekos/Indi together on the Pi when I polar align or check the alignment of the secondary mirror.
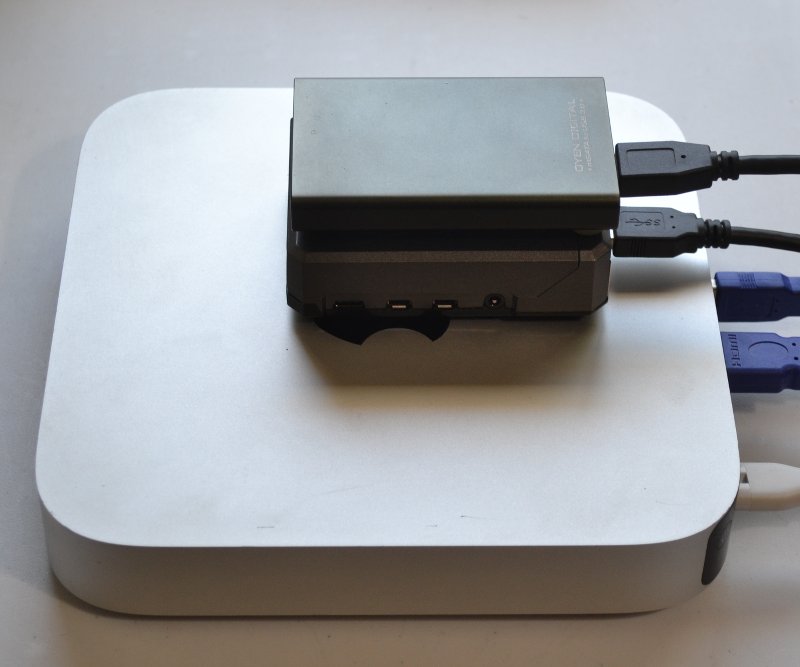
The Pi 4B isn't as peppy as the 2.3GHz i7 Mac Mini, but it is plenty fast, and takes much less space at the scope. I have been asked why I don't run Ekos and the server both on the Pi, and to that I have to say Indi is a client-server app. I use a Linux box with its scads of memory and three monitors as the Client in the house, and the Pi, with its small size and more than adequate power as the server at the telescope. The Linux box handles plate solving, running scripts to move the image files to their final directories, autofocusing, etc. The Pi handles mirror alignment, polar alignment, and the interfaces to camera, telescope and focuser. The network takes care of getting the images back to the client nicely.
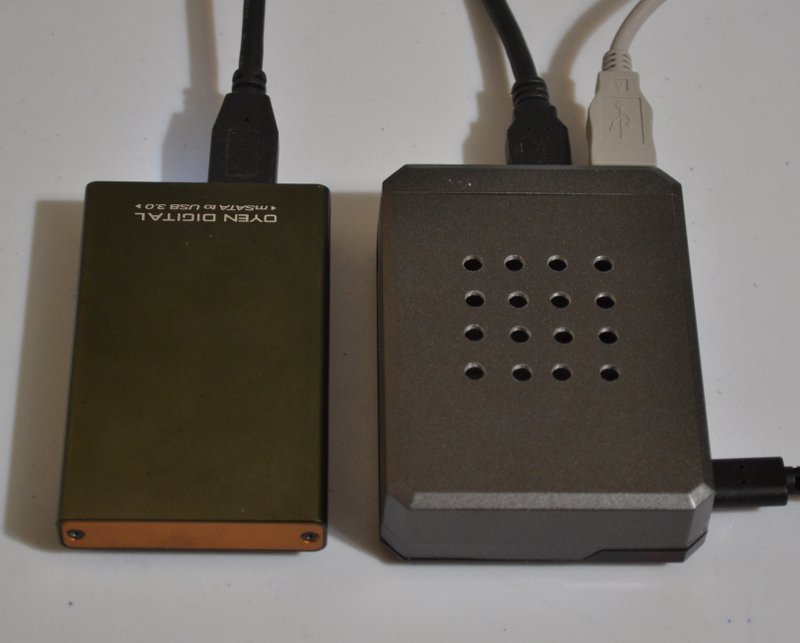
The Pi 4B generates some heat, getting to 54°C indoors when nearly idle. I decided to try to solve the problem by drilling holes in the top cover and installing an Argon40 fan hat. The fan just clears the cover, so when it runs with the cover on, it makes much more noise than when the cover is off. But this is going to be run outside, so I really want the cover on. To keep the leaves out of the fan, if nothing else.
The temperature settles in at 25-27°C above ambient without the fan, but with the fan it drops to 9-12°C above ambient. Right now it is 39°C outside. Without the fan it would run at 64-66°C, and with the fan it would be between 48 and 51°C.
First, let me describe my rig, then I will show how I get INDI up and running for an evening of imaging.
12" Meade LX600 This is the main scope. It runs in "unattended mode". Unattended mode means it doesn't sit at a prompt blinking at me when I power it up, waiting for a menu choice. It hangs instead at the "daylight savings?" prompt after around 30 seconds of initialization. I run a script to set the time and date through the serial interface. If for any reason I fail to park the scope at the end of the night, it will come up with a different prompt next time, and no command will initialize it. I have to go to the scope and hit the Menu key. Requires one USB port for a USB to serial converter. Requires one 12V supply.
Meade Zero-Image-Shift focuser It has been modified to use a Pegasus Astro FocusCube 2 so I can use it as an absolute position focuser. It requires one USB port and one 12V supply.
Stellarvue F080M2 This has been the guidescope. I removed the LX600's Starlock, since it couldn't find a suitable star half of the time in my light polluted sky. I swapped the F080's correct image diagonal with the straight through 2" helical focuser for the guide camera to use. This is now the guidescope when I image with the GT81.
William Optics GT81 IV This is now the guider when I image with the LX600. It has a field flattener/0.8x reducer for photography, which comes off for guiding. A ZWO 5V-EAF focuses it. Requires one USB port for power and control.
ZWO ASI290MM Mini This is the guide camera. It requires one USB port.
SBIG STF8300EN This is the imaging camera. It requires one USB port and one 12V power supply.
Filter Wheel A homebrew filter wheel that emulates a QHYCFW2. It has L, R, G and B filters and one open position for a future H-alpha filter. It requires one USB and one 12V supply.
Flat Field Panel A homebrew flat panel using a 14" round EL panel. It emulates a Pegasus Astro FlatMaster. It is completely manual. Requires one USB and one 12V supply. I can swap it out for a 5" EL panel when I image with the GT81.
Power Box Another homemade device that remotely switches power to up to six devices and two dew heaters. It also has the power supply for the Raspberry Pi, and uses one USB port. The USB port controls which ports are auto on, or manually on or off, and the heaters. This part is not controlled by INDI.
U-Blox GPS Replaces the GPS in the LX600, which will not get a fix no matter how long I wait. The only real function of the GPS is to get the time set on the Raspberry Pi. The LX600 knows where it is because it saved its position after I set it manually some time back. It uses one USB port.
7-port USB3 Hub The hub is driven by a USB2 cable, because USB3 will hang the Pi with certain peripherals. Requires one USB and one 12V supply.
Raspberry Pi 4B 8GB The brains. Its four USB ports are used for the SSD, SBIG camera, Power Box, and a 7-port powered hub. The SSD is a 256GB USB3 msata drive. When I need to collimate or polar align the scope, I run Kstars on the Pi and add a monitor. I set up the alignment using Remina to get the Pi desktop on my Linux box, then when it is time to tweak knobs, I make it loop and full-screen, and go to the scope to finish the alignment.
Starting up the Raspberry Pi
Starting a session requires me to plug in the power cord, which powers up the power box and the Raspberry Pi. I VNC into the Raspberry Pi from my Ubuntu Linux workstation in the house. Once in I run the power box utility and open a terminal window. I change to the scripts directory. Then in the power control app I turn on power to the USB hub. That brings up the USB devices in the same order every time.
The second action is to turn on the power to the other five ports. That will bring up the LX600, which will begin its approximately 30 second initialization routine. When that is done, I run the following command in the terminal:
$ ./lx-time.sh
That command runs some code to initialize the date and time on the LX600. By the time this is run, the GPS has a fix and the Pi time is correct. If the LX600 isn't ready it won't respond. If it responds, the scope starts tracking.
Now, in the same terminal window, I type:
$ ./indi
Which is a shell script that runs INDI with a list of drivers to use. Now the INDI server is running and waiting for connections.
Kstars on the Linux Workstation
Next I load Kstars on the workstation.
All I have to do to connect with the INDI server is click the little Ekos button on the Kstars toolbar, and when Ekos comes up, click on the "Play" button to make the connection to the server. The INDI Control Panel app is loaded by this action. Ekos attempts to connect to the INDI server. An error at this point usually means the WiFi signal is weak, and reconnecting solves it.
Clicking the "Connect" button causes EKOS to connect to all of the devices. This is the point where I rejoice that the USB hub orders the devices the same every time. An error connecting to any device means some troubleshooting. If one device has a problem, so does another one most times. Hit "Disconnect" on Ekos and swap the two port numbers. Repeat until all devices connect. Really, once it is set up it has usually remained set up. I don't let it auto search for ports because it will find the power box and connect to it first.
This is a good time to set the temperature on the main camera. I set it to 0.0°C in Ekos so it can cool off while I wait for it to get dark.
When the sky is dark, I can use the Alignment tab to tell the telescope where it is pointed. That is as simple as setting the exposure time, clicking the radio button to "Sync", and making an exposure. If the exposure time is right, the telescope position will be set. If the exposure time is not right, I get a message saying there aren't enough stars. Sometimes there really aren't enough stars and the scope needs to point a little east or west. Other times I just need to increase the exposure time so the camera can get a little deeper. Eventually the scope will get synced. If the scope is out of focus, it will not sync. Focus and repeat. Setting this up the first time is simple, and consists of having a config with your scope and camera, so you know the field of view, then telling Ekos to download the proper files. Click the Options button (lower right corner of the page) and then click Index Files on the left. Pick the files you need based on the field of view of your scope/camera combination.
Now the telescope is ready to use - it knows where it is, where it is pointing, and what time it is. The next part is a deviation from the expected usage. I don't use the object and sequence in Ekos. It likes to optimize the order of lights, flats and darks, and I don't really have a Flip-Flat, so when it is done with the darks or flats, it starts making lights with the flat panel still in place. To get around it I use the camera and filterwheel control tab to make sequences for a single object at a time. That's the way I shoot, so it works for me. I can set up the exposures through the different filters, and let it do the work. The only time I need to get involved is when the focus drifts as the scope turns. I pause the sequence and autofocus then start it again.
All in all, the process works great. All I need to do is keep an eye on focus. That isn't because Ekos can't do it - it can. It is because the temperature goes from 115 down to 78 during one night and I have to chase it. It is because the LX600 has a bit of mirror flop, and the focus will suddenly change. It is because seeing is awful here, and autofocus likes good seeing. But still, it is a joy to use Kstars/Ekos/INDI. In my early days, the bulk of the time was spent finding objects. Now that part is very simple, and the majority of the time is spent collecting photons.
A hint for USB port numbers. The ports on my Pi itself are not serial ports, so they don't use ttyUSBx naming. The only port of consequence is the power box, which is /dev/ttyACM0. The serial ports are all on the hub. The hub magically discovers ports from the far end to the cable end, so they get numbered /dev/ttyUSB0 through /dev/ttyUSB3. The GPS is /dev/ttyACM1, wherever it is plugged in. The guide camera and main camera aren't serial devices, so they don't show up at all in /dev. If I know the cable position in the hub, I know the tty number. If I unplug a serial device and plug it back in, it moves to /dev/ttyUSB4. It does not go to its old spot. Power cycling the hub resets the tty numbers to /dev/ttyUSB0 through /dev/ttyUSB3. I have to Disconnect and stop Ekos when I do that because all the devices go away. Restarting Ekos brings everything back.
Almost all nights the process goes off without a hitch. Everything just works.