Telescope Flat Field Panel
The Alnitak FlatMan for a 12" f/8 ACF scope (13-5/8" diameter) would be expensive if they made one. The Flat-Man-L is $595.00 and fits scope tubes up to 12-1/2" in diameter. The Flat-Man-XL-2 18" x 18" square panel is large enough, at $1,595.00. This is the motivation behind making a DIY flat field panel.
Electroluminescent Panel
A flat field box is a useful tool for creating flat fields, but it can be bulky and fragile. I decided to experiment with an EL panel to cut down on bulk. This Electroluminescent (EL) panel is an improved version of an older technology. The goo inside has been treated to resist UV light aging better than older versions. More on aging can be found below. Whereas the old one had electricians tape over the AC connections, the new one has a rubber boot.
I chose an ellumiglow.com round 14" panel. The 14" is the ideal size for the 12" f/8 ACF, with a tube front outer diameter of 13⅝". The flat frame kit with an inverter and a battery holder for 8 AA cells is $130.00 plus tax and shipping as of 2019. The panel can be obtained at a lower cost by visiting Technolight.com. As of this writing, they are asking $76.00 for the panel, but they charge $29 for shipping UPS ground! With shipping, it is still less than the Ellumiglow panel, though. I just bought one because the old one developed a short circuit.
Ellumiglow sells kits specifically for this purpose in 15" and 5" round sizes. They also sell the panels and diffusers separately in 15", 14", 10", 8", 5", and 2". A diffuser of some kind is needed because, even though the EL panel surface is smooth and flat, there is a graininess to it when lit. I built a 5" kit for my GT81 scope. It cost $60 with a diffuser and is powered by the same connector as the 14" panel. It is now $73 with a better PWM compatible inverter. The panel, inverter, diffuser, aluminum back, and 3D printed rim currently cost $305 for this 14" panel. From the 5" project, I already have a PWM controller. You could do it for less money if you purchased the panel from Technolight.com and the inverter from Ellumiglow. You'll need one that can power a 160 in2 panel. However, not all inverters are PWM compatible, so choose wisely.
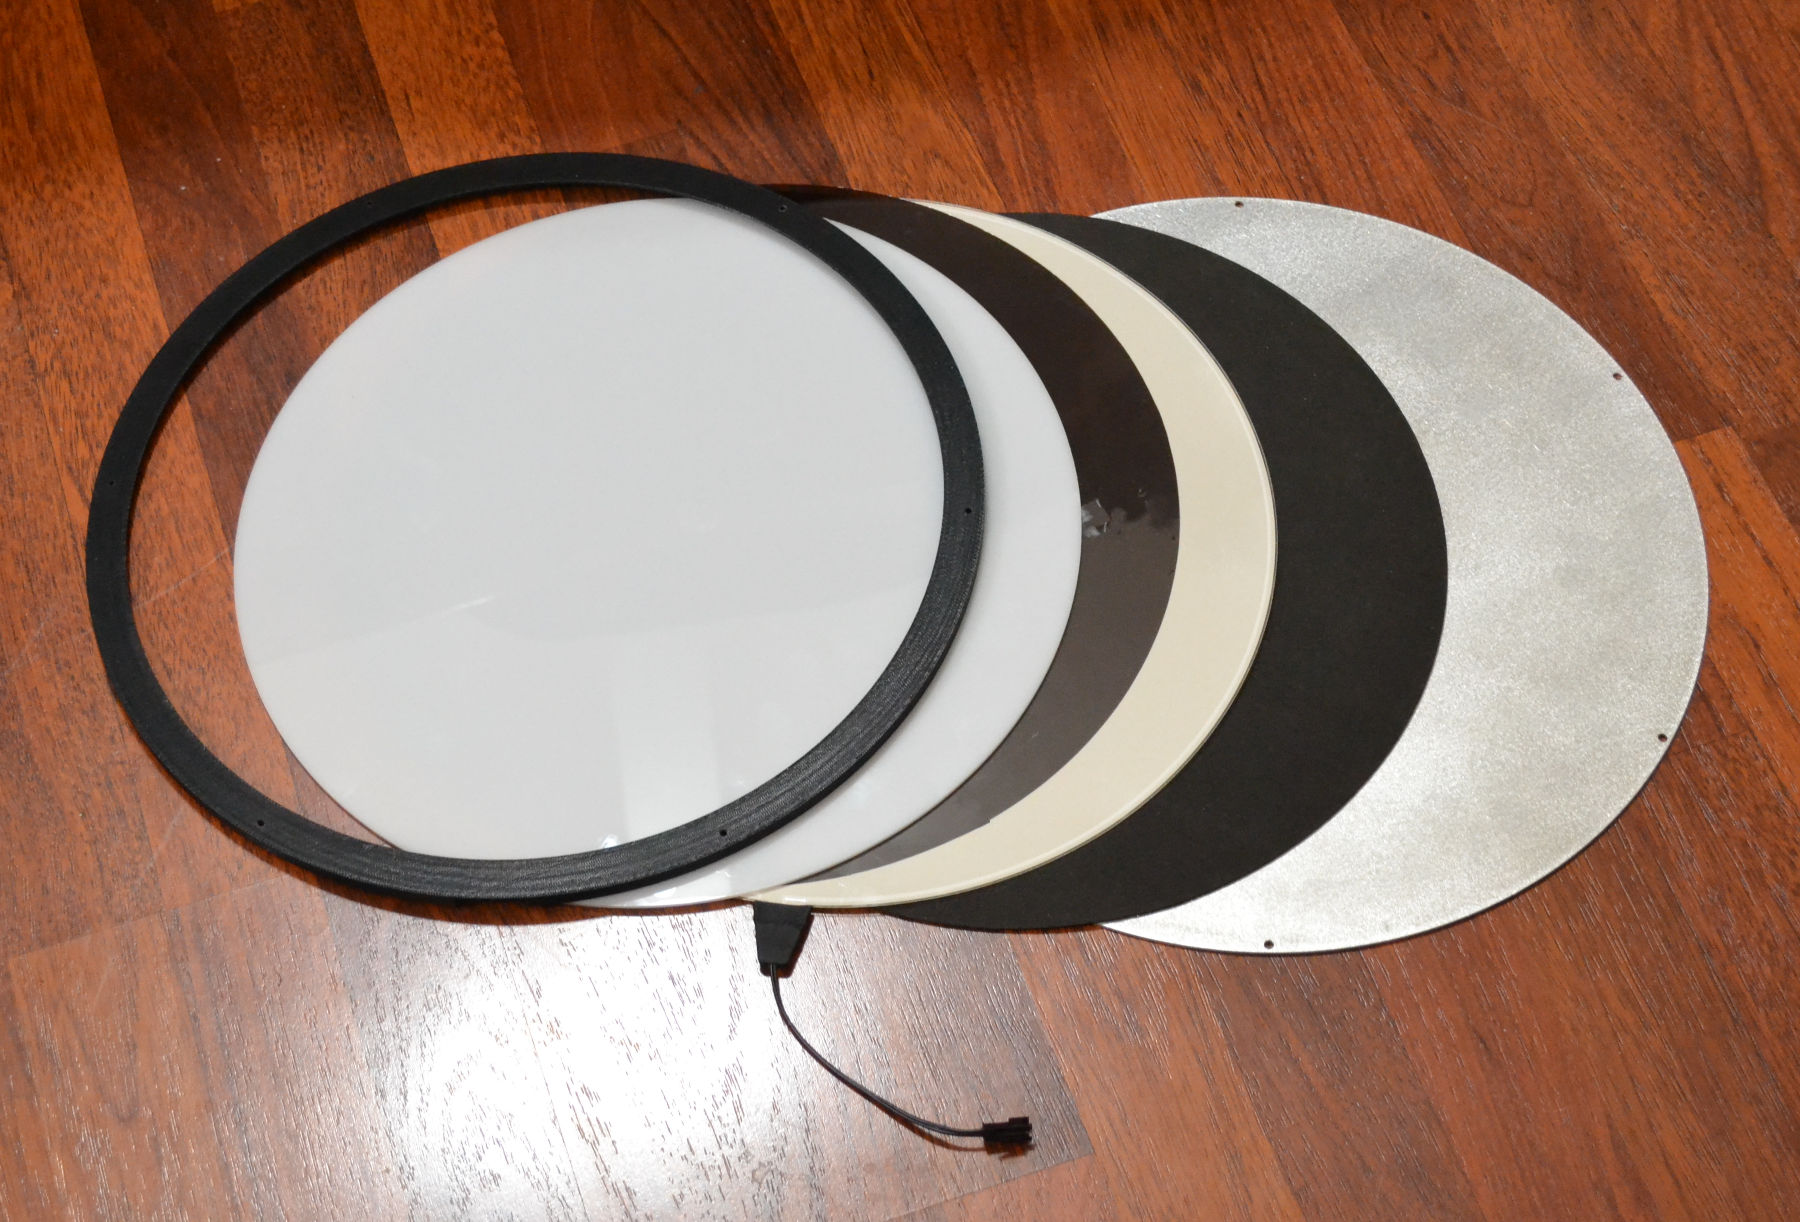
This unit is 15.2" in diameter, made from 0.063" aluminum and 3D printed ABS. The diffuser is 3mm milky white acrylic, matte finished on one side. The aluminum panel was laser cut from 0.063" 6061-T6 sheet, by Xometry.com. The 3D printed ring was also made by Xometry.com. Both parts, at just over 15" in diameter, were just a bit larger than the capacity of many machines, and so larger (more expensive) machines had to be used, raising the cost a bit. Their fabrication work was great, and their customer service is out of this world. The foam backer is 3mm EVA foam (think Foamy™). The EVA foam was cut to size using the diffuser as a cutting guide.
Panel Assembly
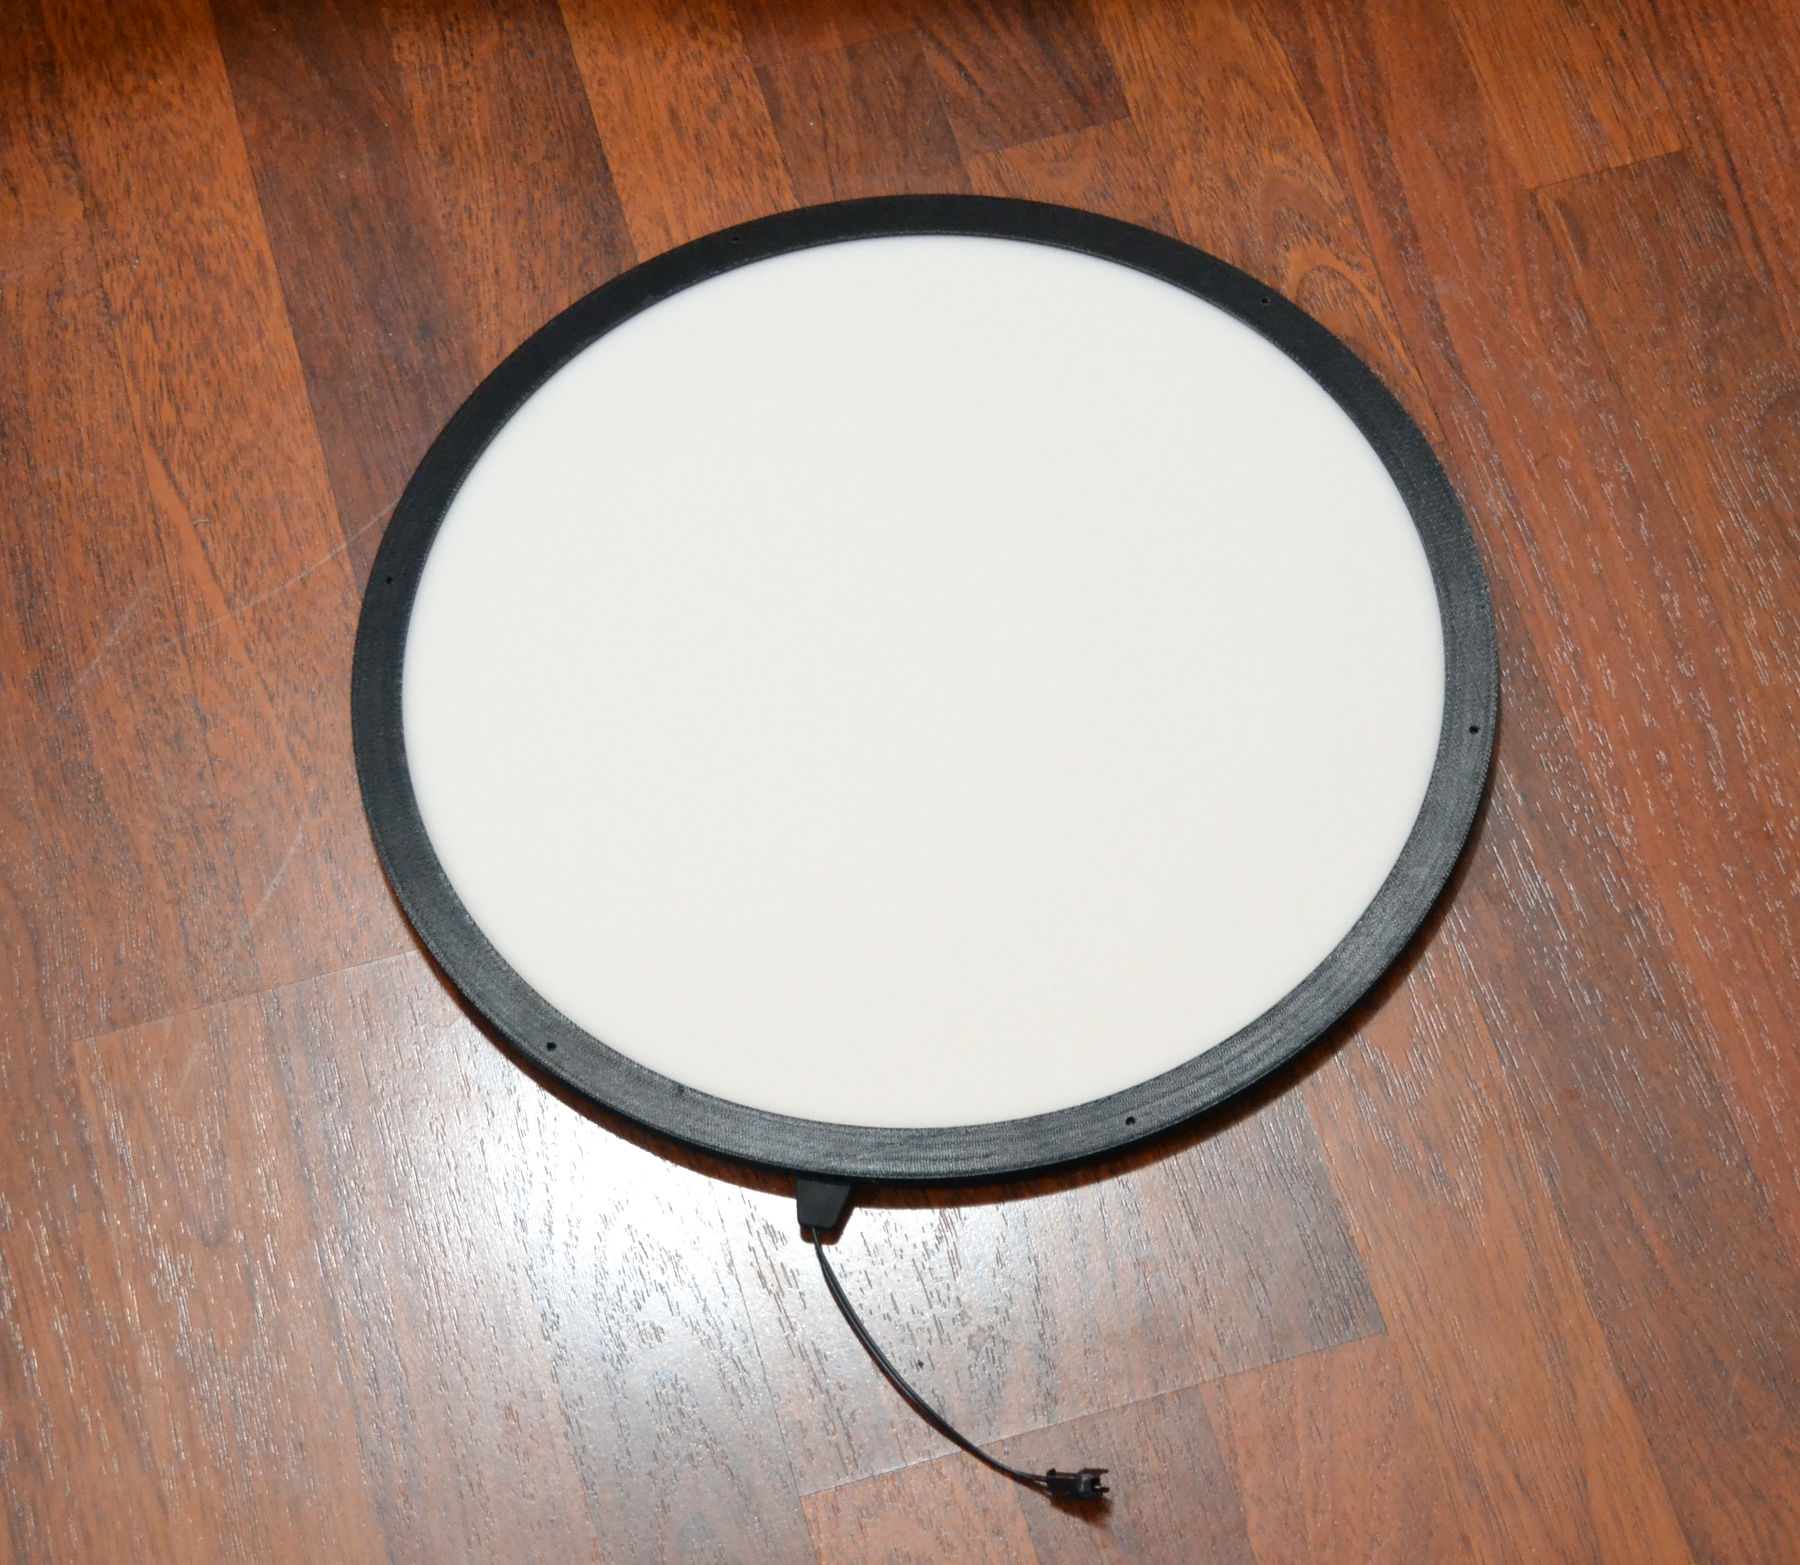
There is a wiring slot in the 3D printed ring. I marked its position on the aluminum using a black Sharpie, and the locations for the screw holes with a pencil, and then taped the ABS ring to the aluminum panel. I drilled through both parts at the marked hole locations with a 7/64" drill bit. After separating the two parts, I used a 5/32" drill bit to re-drill the holes in the aluminum panel for a loose clearance. I used a #6-32 tap to tap the holes in the ABS ring. Because the ring is made with a light fill, tapping isn't strictly necessary. I placed the ABS ring face down on the bench after cleaning it. I inserted the acrylic diffuser first, then the EL panel, and the 3mm EVA foam pad. Finally, I positioned the aluminum panel on the assembly, aligned the screw holes, and drove the screws in partially. To help with strain relief, I centered the wiring boot in the wiring slot and placed a small piece of EVA foam on each side of the wiring boot. Then I tightened the screws down.
PWM Controller
A controller with an Arduino Nano and a high-side switch dims the panel. The interface to the host computer is the same as the Pegasus FlatMaster. You can learn more about the controller on the 5" flat fielder page. Schematics, PC board design, and firmware are all there. It is the same PWM controller for both panels, although the output capacitor goes from 100µF on the 5" to 680µF on the 14". That is because the 14 is a bigger load, and 100µF can't sustain the voltage with the ripple current from the PWM.
A cautionary note: As weird as it sounds, EL panels are sensitive to UV light. It bleaches the phosphor, or whatever is in there. They age in direct or indirect sunlight, florescent lights, white LED light bulbs, or even their own light. A panel is good for about 2,000 or 3,000 hours, which is more than I will ever need, but it could be as little as 1,000 hours if exposed to enough light. They also discolor, as the red goes away first, leaving the light very cyan. I have experience. My first panel was inadvertently exposed to the direct light from a standard 6 watt LED light bulb in my office ceiling fan off and on for a few weeks, and now gives off a cyan light with speckles of blue. The new panel is protected from light when stored, even though the new ones are more UV resistant.